Build your first Grein project in a few minutes.

1. Create a project

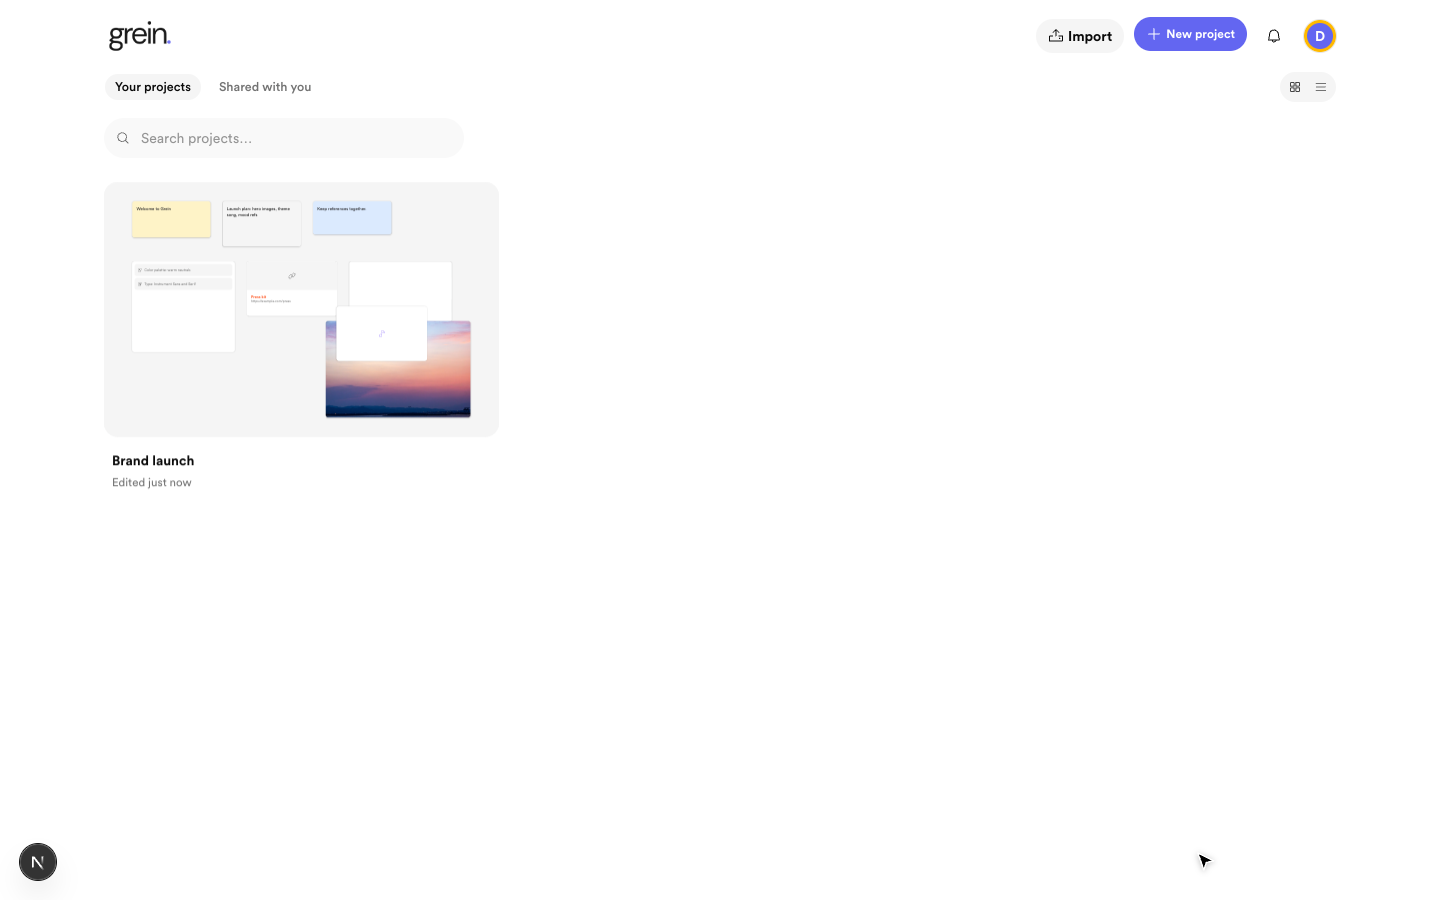
Go to your dashboard and create a project. Start blank or from a starter template, then give it a clear title. Projects are private by default. The Grein dashboard with a Brand launch project Your dashboard with projects, search, and a live canvas preview
2. Add blocks

Open the project to see the canvas toolbar on the left. Add notes, images, links, videos, documents, audio clips, code snippets, or sketches. You can upload a file or paste a URL — links show a live preview.

3. Arrange it so it reads

Drag blocks anywhere. Group related notes under a titled composite block, line groups up in rows or columns with even spacing, and use separate boards for bigger sections. Connect related blocks with arrows when you need to show a relationship.

4. Make it yours

Select a note or board block to change its background and text color. Double-click text to edit it. Right-click any block to copy, duplicate, or delete it — copied blocks can be pasted onto any board, even in a different project.

5. Share it

Invite teammates as editors or viewers, or turn on a public view-only link you can revoke later. Use project chat and comments to keep discussion next to the work. Next: learn how projects and boards fit together.